-
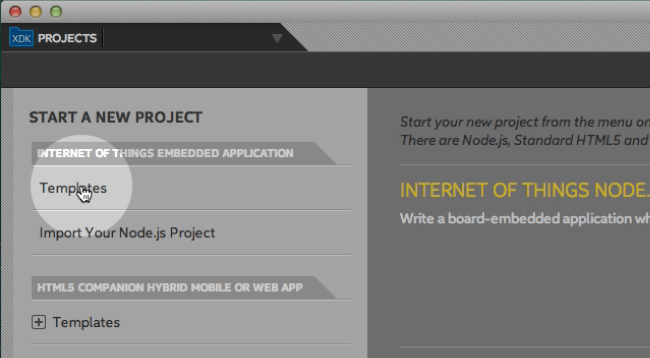
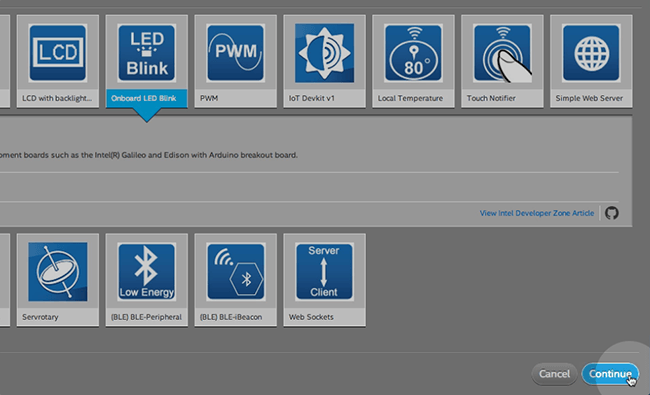
Under the “Internet of Things Embedded Application” option in the lefthand menu, select “Templates”.
-
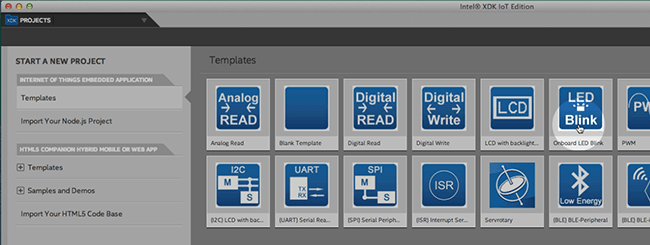
A list of templates for developing Node.js applications will be shown. Select “LED Blink”.
-
Click Continue in the bottom right.
-
Choose a project directory for your project files.
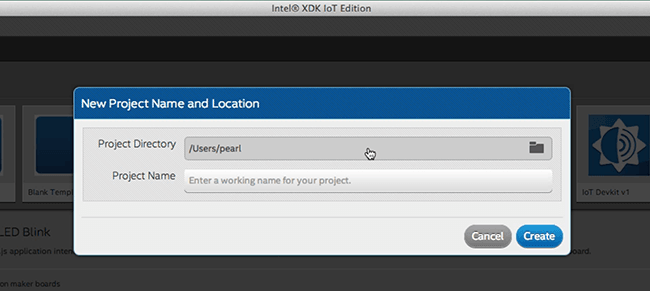
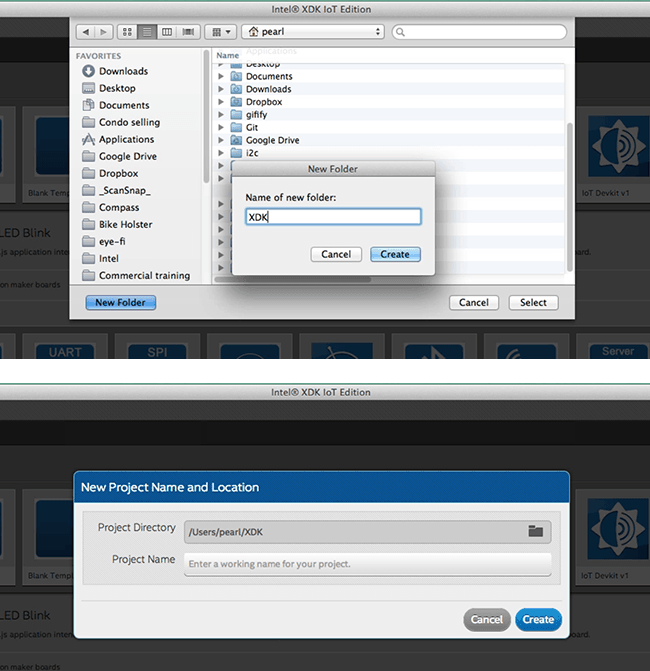
If this is the first time using the Intel® XDK, we recommend creating a separate “XDK” folder for your files.
-
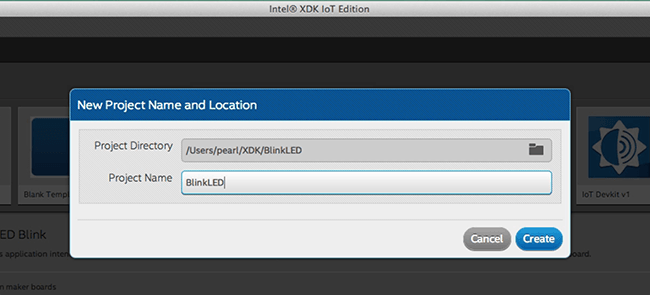
Enter a name for your project such as “BlinkLED”.
-
Click “Create”.

-
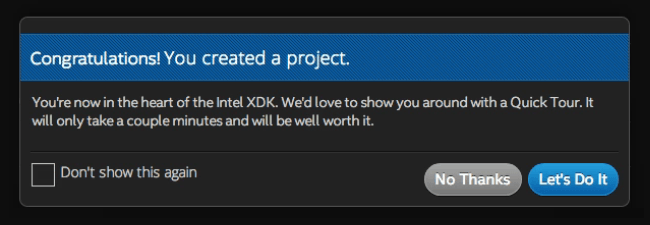
A popup will confirm the successful creation of your Blink LED project.
If this is the first time using the Intel® XDK, we recommend you take the Quick Tour.